
Teaching a Dog to Walk on a Loose Leash Without Losing Your Mind
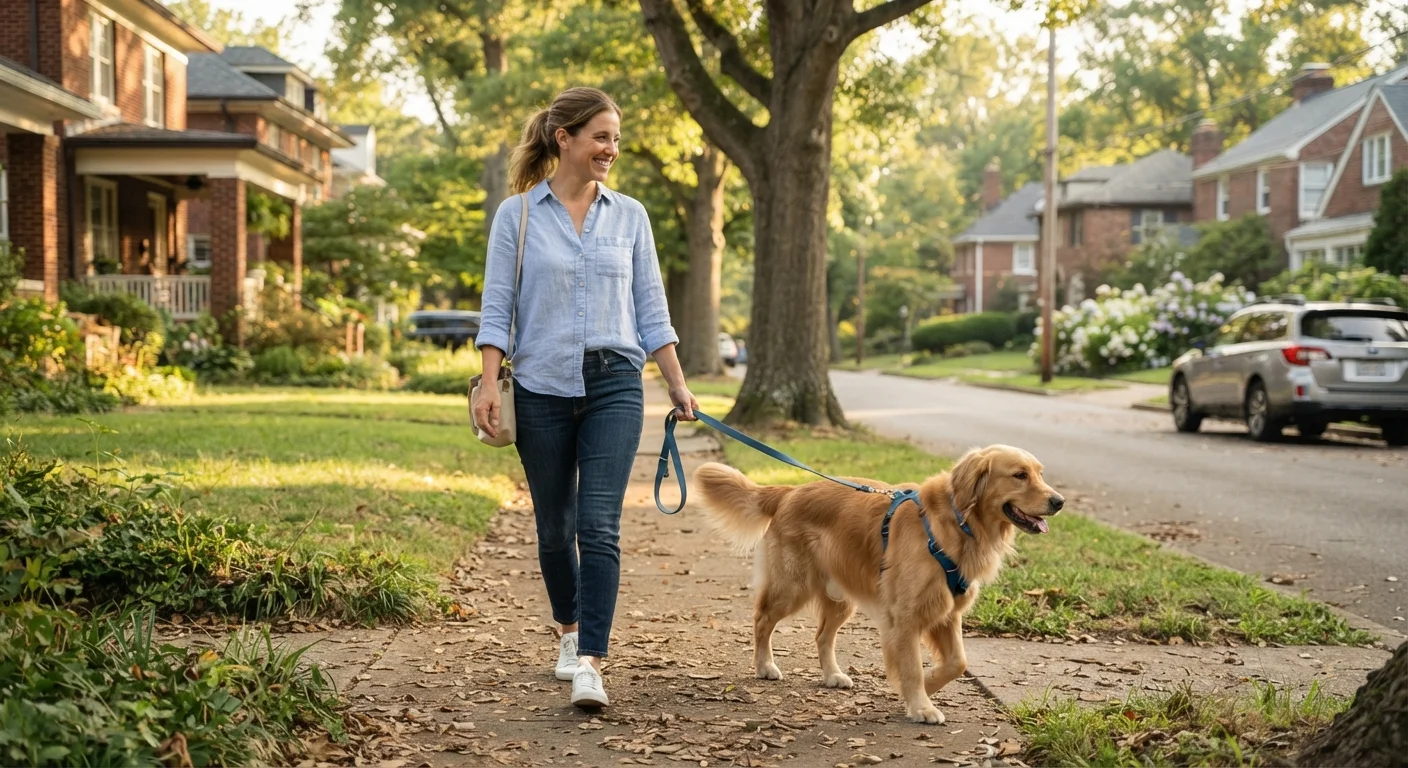
Photo credit: SyndicateExpert.com | Information At The Ready
In this article
Pulling on the leash is one of the most common dog complaints. Learn the step-by-step technique trainers actually recommend.
Key Takeaways
- Leash pulling is a learned habit — dogs pull because it has worked in the past.
- Stopping forward movement the moment tension appears is the core training mechanic.
- Short, frequent practice sessions outperform long, infrequent ones significantly.
- High-value treats are essential during early training to compete with street-level distractions.
- Most dogs show clear improvement within two to four weeks of consistent daily practice.
Why Dogs Pull — and Why It's Not Stubbornness
Most dogs pull on the leash for a straightforward reason: it has worked. Every time a dog surges forward and still gets to reach the fire hydrant, the smell, or the other dog, pulling is reinforced. Dogs don't pull to dominate you or test your authority — they pull because forward movement is rewarding and they've never been taught an alternative.
Understanding this is important because it shifts your approach. The goal isn't to overpower your dog or establish rank — it's to make walking beside you more rewarding than pulling away from you. This is the framework that certified professional trainers and veterinary behaviorists consistently apply, and it works across breeds and temperaments.
If you're a first-time owner navigating early training challenges, the new dog owner guide covers the wider picture of what to expect in those first weeks at home.
Choose the Right Equipment First
A front-clip harness or head halter can reduce pulling pressure while you train, making the process less physically demanding. Standard flat collars and back-clip harnesses can actually encourage pulling due to the opposition reflex — the dog naturally leans into pressure. Ask your vet or a certified trainer which option suits your dog's size and breed.
What You'll Need Before You Start
Good equipment makes a meaningful difference. A front-clip harness redirects your dog toward you when tension occurs, reducing the physical effort on your end and making the training feedback clearer. A standard 4–6 foot leash — not a retractable — gives you the control needed to feel and respond to tension instantly.
Front-clip harness or head halter
Reduces pulling force and redirects the dog toward you when tension occurs.
Standard 4–6 ft. leash
Gives you enough control and feedback without excessive slack or length.
High-value treats
Motivates the dog to stay near you and reinforces the desired heel position.
Treat pouch
Keeps rewards immediately accessible so you can mark and reward in real time.
Clicker (optional)
Provides a precise, consistent marker the moment correct behavior occurs.
What you will need
Keep your first sessions to five or ten minutes maximum. Dogs learn better with brief, focused repetition than with exhausting long walks that blur the lesson. Choose a low-distraction environment — your driveway, backyard, or an empty side street — before graduating to busier areas.
Step-by-Step: The Loose-Leash Method
The following steps are grounded in positive reinforcement principles used across professional training programs. Work through them in order, and only progress to the next stage when your dog is succeeding roughly 80% of the time at the current one.
Do Not Punish Pulling
Jerking the leash, using prong collars, or raising your voice can create anxiety and actually increase reactivity over time. Positive, reward-based methods are what certified professional dog trainers and veterinary behaviorists consistently recommend for loose-leash walking. If your dog is large and dangerous to walk, consult a certified trainer before starting on your own.
Load your treat pouch and choose your starting position
Decide which side you want your dog to walk on — typically the left — and be consistent. Load your pouch with small, high-value treats your dog genuinely loves. Stand still with your dog beside you and let the leash hang in a relaxed J-shape. That J-shape is your target at all times.
Introduce the "let's go" cue
Say "let's go" in a cheerful tone and begin walking. Keep treats at your hip on the dog's side. For the first few sessions, reward your dog every few steps simply for being beside you — you're building the association that your side is a great place to be.
Stop the moment the leash goes tight
The instant your dog forges ahead and the leash tightens, stop walking completely. Do not pull back, call out, or yank. Simply become a tree. Wait. The moment your dog turns to look at you or takes even one step back, the tension releases — mark that with a "yes" or a click and reward immediately.
Reward check-ins generously
Any time your dog glances up at you voluntarily while walking, mark and reward immediately. This eye contact — called a "check-in" — is exactly what you want to reinforce. Over time, your dog learns that keeping tabs on you pays off better than scanning every scent on the ground.
Use direction changes to maintain engagement
If your dog surges ahead repeatedly, try abrupt about-turns. Calmly say "let's go," pivot 180 degrees, and walk the other way before the leash goes fully tight. Your dog must hustle to catch up, which naturally keeps their attention on you rather than on whatever is ahead.
Gradually increase distance and distraction
Once your dog walks reliably beside you for 30–50 steps in a quiet area, begin adding mild distractions: a busier sidewalk, another person at a distance, or a new neighborhood. Increase difficulty slowly — if your dog struggles, you've moved too fast. Drop back to the easier environment and rebuild.
Troubleshooting Common Setbacks
Progress is rarely linear. Here are the situations owners encounter most often:
- My dog completely ignores treats outside. Upgrade the reward. Street smells are genuinely compelling — you need something that competes. Try real meat, cheese, or a squeaky toy if your dog is toy-motivated.
- My dog sits down and refuses to move. This is often stress or overwhelm, not defiance. Reduce the distraction level and revisit your dog's body language cues — flattened ears, tucked tail, and lip-licking are signs your dog is not in a learning state.
- Progress evaporates in new locations. This is normal. Generalization takes time. Treat each new environment like day one and rebuild from short distances.
If pulling is severe, your dog is reactive toward other dogs, or you're physically unable to manage walks safely, working with a certified professional dog trainer (CPDT-KA credentialed) is worth considering rather than struggling alone.

Author
Pets & Animals Editorial Team
Pets & Animals Editorial Team is the collective byline for our editorial team and contributor network. Articles published under this byline or an editorial pen name are researched, written, and reviewed according to our editorial standards for clarity, consistency, and independence before publication.
View all articles →