
Tire Pressure, Tread, and Rotation: A Practical Maintenance Routine
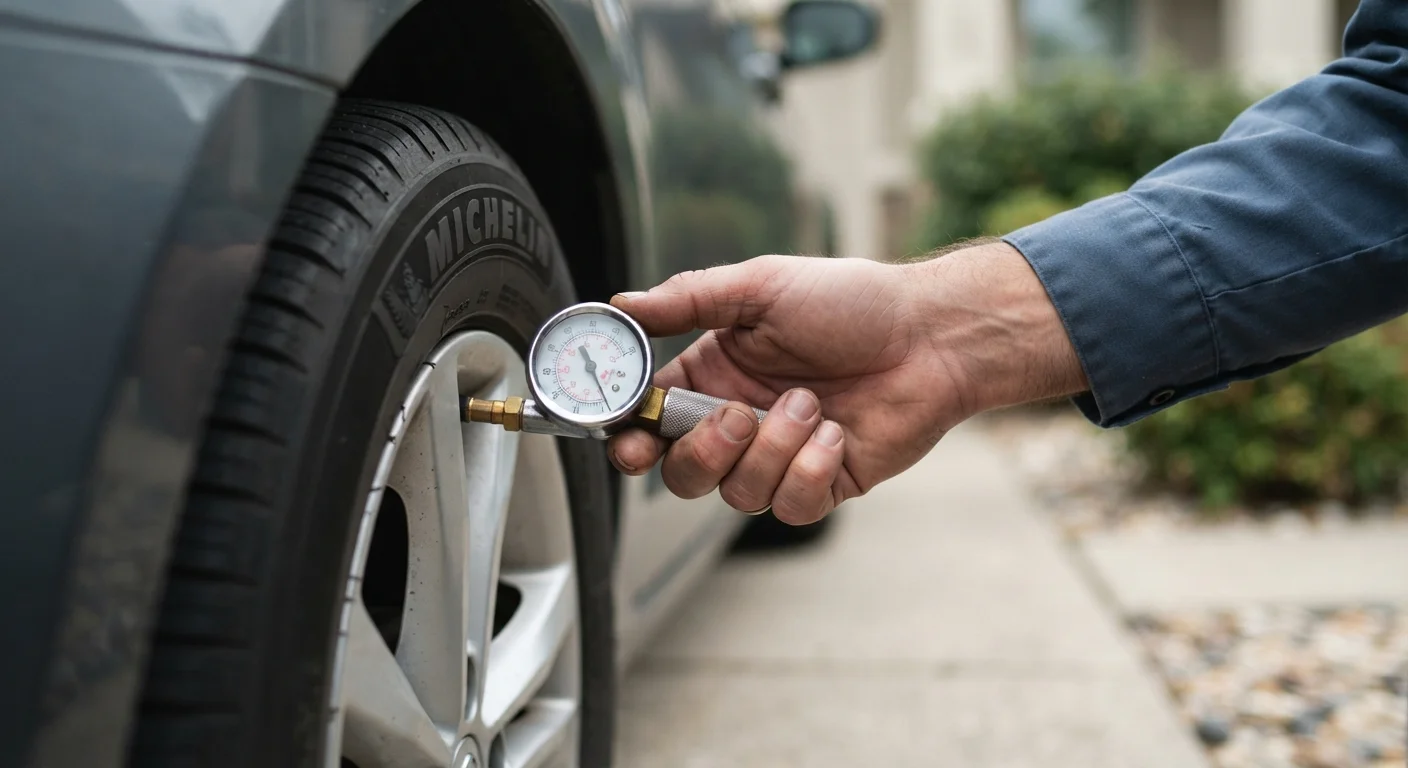
Photo credit: SyndicateExpert.com | Information At The Ready
In this article
Learn how to check tire pressure, measure tread depth, and understand rotation schedules to extend tire life and stay safe on the road.
Key Takeaways
- Check tire pressure monthly and before long trips - always when tires are cold.
- Use a penny or quarter to test tread depth; replace tires before reaching 2/32 of an inch.
- Rotate tires every 5,000 to 7,500 miles to ensure even wear across all four tires.
- Your vehicle's correct tire pressure is printed on the door jamb sticker, not on the tire sidewall.
- Uneven tread wear is often a symptom of alignment or inflation problems worth addressing promptly.
Why Tires Deserve Regular Attention
Your tires are the only parts of your vehicle in contact with the road. Everything - steering, braking, acceleration - depends on four palm-sized patches of rubber maintaining adequate grip. Despite this, tires are among the most neglected maintenance items for everyday drivers.
Underinflated tires flex more than designed, generating heat that degrades rubber and increases the risk of a blowout. They also force the engine to work harder, which reduces fuel economy. Overinflated tires reduce the contact area with the road, decreasing grip and making the ride harsher. Either extreme accelerates wear unevenly, meaning you replace tires sooner than necessary.
Proper rotation ensures no single tire wears faster than the others. On front-wheel-drive vehicles, the front tires handle both steering and propulsion, so they wear far more quickly without rotation. Neglecting rotation often means replacing just two tires at a time rather than all four together - which can create handling imbalances, particularly in all-wheel-drive systems.
Understanding these fundamentals is part of broader vehicle literacy. Our complete car maintenance guide covers how tires fit into the larger picture of keeping a vehicle running reliably.
Build It Into a Monthly Habit
Pick the first Saturday of each month as your tire check day. While you're at it, walk around the car and look for visible damage, embedded nails, or sidewall bulges. Pairing the habit with a consistent calendar reminder means you're far less likely to skip it.
Tools You'll Need
You don't need specialized equipment to handle this routine. A basic digital or stick-style tire pressure gauge costs a few dollars and is accurate enough for home use. The coin test requires only a penny or quarter from your pocket. Air is available at most gas stations for free or a small fee.
Tire Pressure Gauge
Measures the air pressure inside each tire in PSI (pounds per square inch).
Penny or Quarter
Used as a simple tread-depth indicator to check whether tires are worn below safe limits.
Air Compressor or Gas Station Air Pump
Adds air to tires that are underinflated to reach the correct pressure.
Tread Depth Gauge
Provides a more precise measurement of remaining tread depth than the coin method.
Vehicle Owner's Manual
Contains the manufacturer's recommended tire pressure, rotation pattern, and service intervals.
What you will need
For rotation, you'll need either the equipment and confidence to safely lift the vehicle - which includes a proper floor jack and jack stands - or a visit to a tire shop or mechanic. Given the safety implications of improper jacking, many drivers reasonably choose to leave rotation to a professional, especially since it's often offered at low cost or bundled with other services.
Step-by-Step: Pressure, Tread, and Rotation
Follow these steps monthly for pressure and tread checks, and track mileage to stay on top of rotation intervals. Refer to your owner's manual maintenance schedule for your vehicle's exact rotation interval and any model-specific instructions.
Find the Correct Tire Pressure for Your Vehicle
Look for a sticker on the inside edge of the driver's door or door frame. It lists the recommended inflation pressure in PSI for your front and rear tires. Cross-check this with your owner's manual if needed. Record this number before you head to your tires.
Check Pressure With Cold Tires
Remove the small dust cap from the tire's valve stem - the short rubber or metal nozzle protruding from the inner rim. Press your gauge firmly and squarely onto the valve stem. Read the PSI value and compare it to your target. Repeat on all four tires and the spare if accessible.
Inflate or Deflate to the Correct PSI
If a tire reads low, use an air compressor or a gas station pump to add air in short bursts, rechecking with your gauge each time. If a tire is overinflated, press the small pin inside the valve stem - usually with a gauge's release nib or a pen cap - to release air in brief intervals, checking frequently.
Perform the Coin Tread-Depth Test
Insert a penny into the tread groove with Lincoln's head facing down into the tire. If you can see the top of Lincoln's head, the tread is at or below 2/32 inch - the legal minimum in most states - and the tire should be replaced. For a more conservative check, use a quarter: if Washington's head is fully visible, tread is at or below 4/32 inch, which many safety experts consider the practical replacement threshold for wet-road safety.
Test multiple grooves across the tire width and at several points around the circumference, since wear is often uneven.
Inspect Tires Visually for Damage
With the tires inflated, walk around the vehicle and examine each tire's sidewall and tread surface. Look for cracks, bulges, cuts, or embedded objects like nails or screws. A bulge in the sidewall indicates internal structural damage; that tire should not be driven on and needs professional attention immediately.
Schedule or Perform a Tire Rotation
Tire rotation means moving each tire to a different position on the vehicle - typically front-to-rear and sometimes crossing sides - so all four wear at similar rates. Most manufacturers recommend rotation every 5,000 to 7,500 miles, though your owner's manual has the definitive interval for your vehicle. Many drivers rotate at every other oil change as a simple rule of thumb. Rotation requires safely lifting the vehicle and is most reliably done by a qualified mechanic or tire shop.
Never Use the Tire Sidewall for Pressure
The number molded into your tire's sidewall is the maximum pressure the tire can hold - not the recommended operating pressure for your vehicle. Using that figure can result in overinflated tires, which reduces grip and increases blowout risk. Always use the pressure listed on your vehicle's door jamb sticker or in your owner's manual.
Interpreting What You Find
If all four tires are within a few PSI of each other and close to the target, you're in good shape. A tire that consistently loses pressure faster than the others may have a slow leak - caused by a faulty valve stem, a small puncture, or a rim seal issue - worth having inspected.
Tread wear patterns reveal a lot about your vehicle's condition. Wear concentrated on both outer edges suggests chronic underinflation. Wear only in the center points to overinflation. Wear on one edge alone often indicates an alignment problem. Cupping - scalloped dips around the tread - can signal worn shocks or struts.
Addressing these patterns early saves money and improves safety. For context on which maintenance tasks carry the most urgency, see our article on maintenance you really can't skip. And if you're new to owning a vehicle, car ownership basics for beginners is a useful companion read.
If your tire inspection reveals anything beyond normal wear - a bulge, persistent leak, or tread below the safe threshold - consult a qualified mechanic or tire specialist before driving further. Tire failure at highway speed is dangerous, and the repair cost is far lower than the consequence of ignoring a warning sign.

Author
Cars & Driving Editorial Team
Cars & Driving Editorial Team is the collective byline for our editorial team and contributor network. Articles published under this byline or an editorial pen name are researched, written, and reviewed according to our editorial standards for clarity, consistency, and independence before publication.
View all articles →