
Phone Cameras and the Settings Most People Never Touch
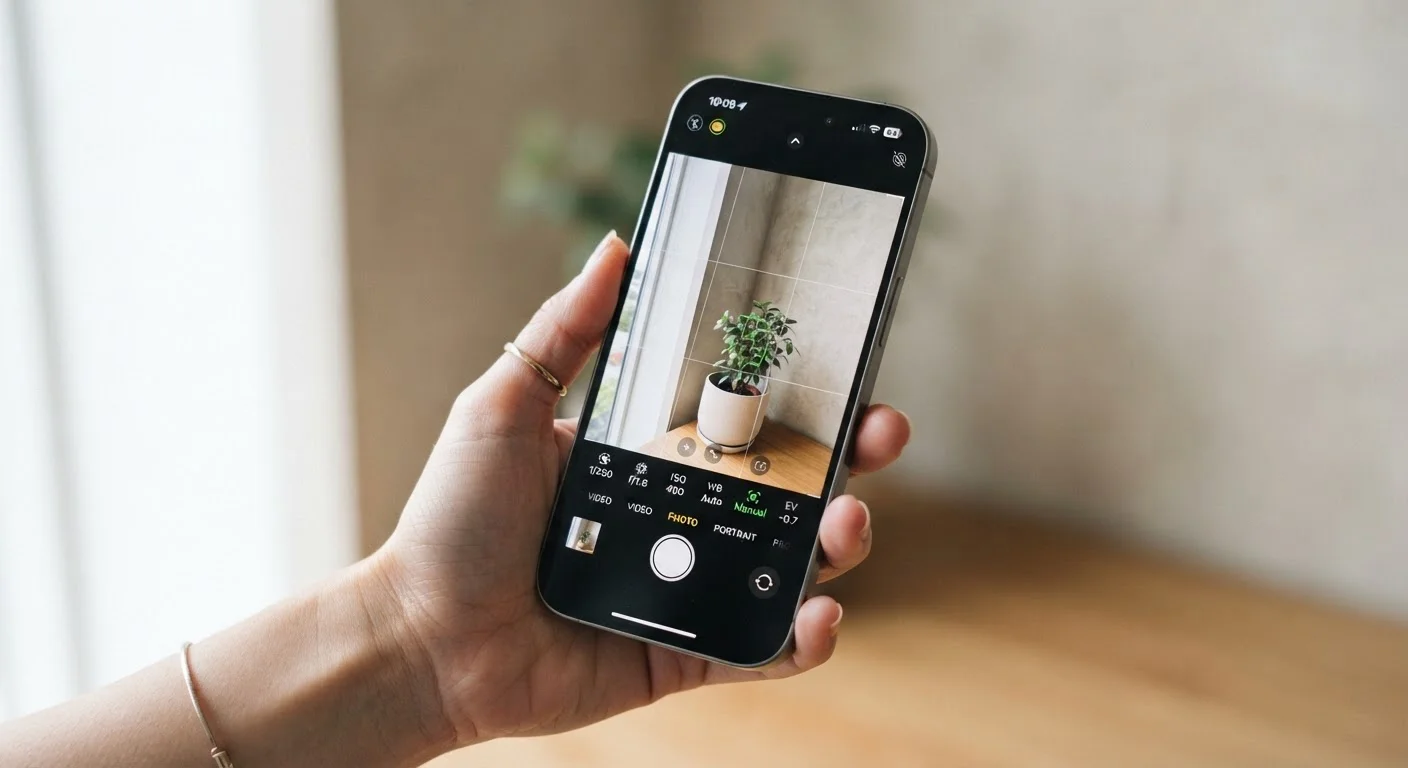
Photo credit: SyndicateExpert.com | Information At The Ready
In this article
Shutter speed, RAW capture, and grid lines can dramatically change your photos. A practical look at what these settings do in everyday shooting.
Why Default Camera Mode Leaves Value on the Table
Smartphone cameras have become remarkably capable, but most people shoot exclusively in auto mode and accept whatever the phone decides. The camera app's default settings are designed for speed and convenience — not necessarily for the best image your hardware can produce. Understanding even a handful of overlooked settings can meaningfully change what your photos look like, without requiring any new gear.
This isn't about becoming a professional photographer. It's about getting more out of a device you already carry every day. The settings below are available on most modern Android and iOS devices, though the exact menu names may vary slightly by manufacturer.
Grid Lines: The Cheapest Composition Upgrade
Grid lines overlay a nine-square grid on your viewfinder. They cost nothing to enable and have no effect on file size or processing. What they do is help you apply the rule of thirds — a composition principle where placing your subject along grid intersections, rather than dead-center, tends to produce more visually engaging images. Nearly every photography instructor mentions it; almost no casual shooter enables it. Look for it under Camera Settings > Grid or Composition.
RAW Capture: When You Want Full Control Later
By default, your phone saves photos as JPEG files. The phone's processor compresses the image and discards data it considers redundant. RAW files, by contrast, preserve virtually all the data the camera sensor captured. This gives you far more flexibility when editing — recovering blown-out highlights, correcting white balance, or pulling detail from shadows — without degrading quality.
The trade-off is significant file size. A RAW image can be five to ten times larger than a JPEG of the same scene. This matters if your storage is already stretched. If RAW shooting becomes a habit, keep an eye on how it affects your available space — hidden storage drains on your smartphone can add up faster than most people expect.
RAW capture is typically available in a Pro or Manual mode, and requires a compatible editing app to process the files afterward.
Shutter Speed, ISO, and White Balance in Pro Mode
Most phones offer a Pro or Manual mode that exposes three controls auto mode handles invisibly:
- Shutter speed — how long the sensor is exposed to light. A faster shutter (e.g., 1/1000s) freezes motion; a slower shutter (e.g., 1/30s) can blur moving subjects or create light trails intentionally.
- ISO — the sensor's sensitivity to light. Higher ISO brightens dark scenes but introduces digital noise (graininess). Keeping ISO as low as the scene allows generally produces cleaner images.
- White balance — tells the camera what "white" looks like under current lighting. Auto white balance usually does a reasonable job, but setting it manually in mixed or artificial lighting can prevent the color casts that make indoor photos look orange or green.
These three settings interact. Changing one typically requires adjusting at least one other. A useful starting point: set white balance first, then adjust shutter speed for your subject's movement, and raise ISO only as needed for adequate exposure.
RAW file
An image file format that stores unprocessed sensor data. Unlike JPEG, it retains all captured detail, giving editors maximum flexibility — at the cost of much larger file sizes.
ISO
A measure of a camera sensor's sensitivity to light. Higher ISO values brighten dark scenes but also introduce digital noise, which appears as grain or speckle in the image.
Shutter speed
The length of time a camera's sensor is exposed to light for a single shot. Fast shutter speeds freeze motion; slow speeds can blur movement or gather more light in dark conditions.
White balance
A camera setting that defines the color of 'neutral white' under a given light source. Correct white balance prevents unwanted color casts from artificial or mixed lighting.
Rule of thirds
A composition guideline that divides the frame into a three-by-three grid. Placing subjects at grid intersections rather than the center tends to produce more visually balanced images.
Histogram
A graph displaying the distribution of light and dark tones in a photo. A histogram bunched toward the right indicates overexposure; toward the left indicates underexposure.
Timer, Histogram, and Focus Lock
Three more settings worth knowing:
- Self-timer — even a 2-second delay between pressing the shutter button and capturing the image eliminates the micro-shake caused by your finger tap. This makes a noticeable difference in sharpness for low-light or close-up shots, without needing a tripod.
- Histogram — a graph showing the brightness distribution across your frame. Available in some pro modes, it helps you judge exposure more accurately than the screen, which can be hard to read in bright sunlight.
- Focus and exposure lock — on most phones, tapping and holding on your subject locks both focus and exposure. This prevents the camera from re-adjusting when you reframe the shot, which is especially useful when your subject is off-center.
Learning to use your phone's camera more deliberately fits the same pattern as getting more from any app you already use. If you've found that your calendar app does more than you realized, the same exploration usually applies to your camera.
None of these settings require a photography background to try. Start with grid lines and focus lock — both are low-commitment changes with immediate, visible results.

Author
Tech & Devices Editorial Team
Tech & Devices Editorial Team is the collective byline for our editorial team and contributor network. Articles published under this byline or an editorial pen name are researched, written, and reviewed according to our editorial standards for clarity, consistency, and independence before publication.
View all articles →